
Something I have loved doing recently as a hobby is scrapbooking. I started properly getting into it last year and fell in love with it more and more each time I completed a page. I was mainly scrapbooking in the beginning of the year, before I went on my last boat and unfortunately dropped it even after I came back from overseas, because of life and other things.
Today I was doing another spring clean in my room and decided to reorganise my entire creative desk and give it a good wipe clean. I came across dozens of cute scrapbooking supplies that had been lying around messily on my desk since before my mother left for the UK (she was the one who ordered them for me). I looked at all of them, dusted them off and carefully placed them in their new home on the desk. I felt a spark of inspiration arise in me during and after my spring cleaning episode to start prioritising the hobbies I genuinely love to do.
I opened my latest scrapbook to find only five pages done and the last one dating from March. When I had begun it, I was so excited to have it finished long before September, but since changing my path in life, adopting the horses and the beginning of Wild Reverence, I have not had much time to even scrap book. I realised today that I want to make time.
I also felt inspired to write a blog on a beginner’s guide to scrapbooking. I know how overwhelming it can be to initially start if you haven’t done it before, but once you start, you won’t want to stop. The best thing about scrapbooking is that you don’t have to be an artist in any way, shape or form, you just have to want to create something special to hold your memories in place before you forget.
Basic Supplies:
Note: You do not need to go and buy every single scrapbooking tool or supply you see, you can simply start small to see if you actually enjoy it and build up from there. You can also be creative and use things that are already in your house, such as wrapping paper, little ribbons etc.
- A scrapbook/album or even a plain journal that you are not sure what to do with
- Scissors
- Glue or double sided tape
- Scissors
- Your favourite printed out photos, of different sizes
- Different colour papers or cards/Pattern paper
- Different colour pens, khokis, markers, pencils or whatever you already have
- Stickers, ribbons, pressed flowers, washi tape, tickets, little keepsakes etc.
Scrapbooking Steps:
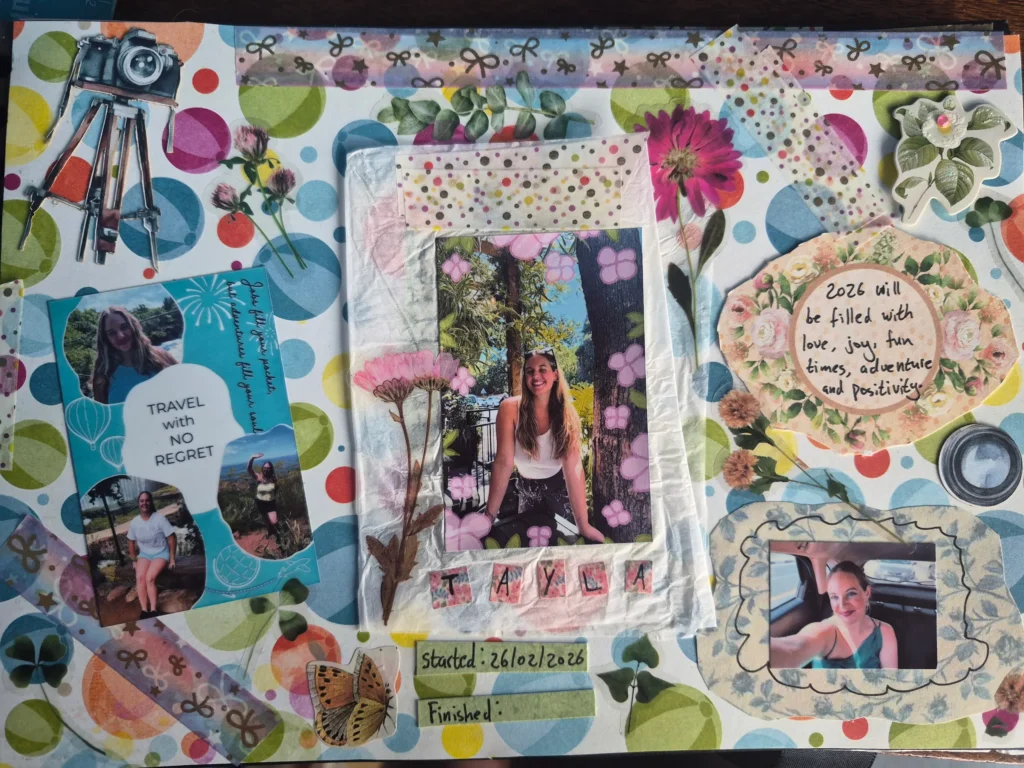
Okay, firstly, everyone scrapbooks differently and there is obviously no right or wrong way to do this. It’s supposed to be fun, playful, stress-free and most importantly unique to YOU. I will use the image above as an example of scrapbooking your first page. This page was done in February, when I was still extremely excited about the concept of scrapbooking and trapping my memories in my album and I would have chosen my February recap as the example, but it has quite a few other people in it that I am not sure if they would be comfortable with their photos on my website.
So this was supposedly the beginning of my scrapbooking journey as well as the beginning of 2026, since it was month two into the year.
I recommend to plan out at least half of what you want to do with your page, preferably the entire page but everyone works differently and what might work for me may not work for you. I don’t always plan out my whole page, as I do sometimes just start and see where it takes me, but other times I have a full plan set out and I follow that vision. It is better to have somewhat of an idea so that you are not stuck or regretful halfway through when you realise you wanted the photo on the left corner and not the right one, as an example.
You can stick your paper colours or patterns down first and then play around with placing of the images before committing with scissors and a glue stick. That is what I normally tend to do.
As you can see, I used a bright and colourful pattern paper for the background, which also psychologically reflected how I was feeling at the time, bright and bubbly. I knew that that was the background for the first page I wanted and I cut it out the size of the page and stuck it down. Of course, you don’t always have to have a background paper, if you want it plain, that works too.
I knew I wanted this page to be special since it was the very first one and it was my first proper introduction to my scrapbooking hobby, so I wanted a happy photo of myself to be in the middle.

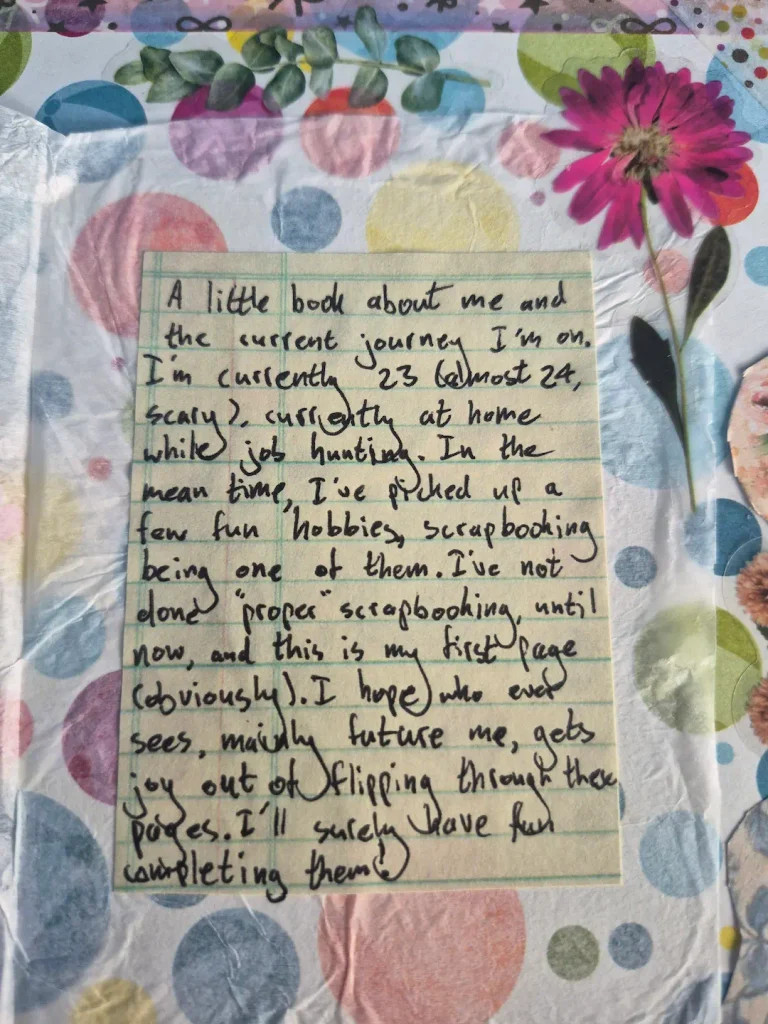
I got creative though with the tissue paper that the photo is on and didn’t let it stick down completely; I almost made a booklet type of situation so that you could flip the image of me to read a little note I wrote on the inside!
If you can get more creative, then you should definitely do so and just let completely loose with the process! If not, that’s okay, that’s why this is a beginner’s guide!
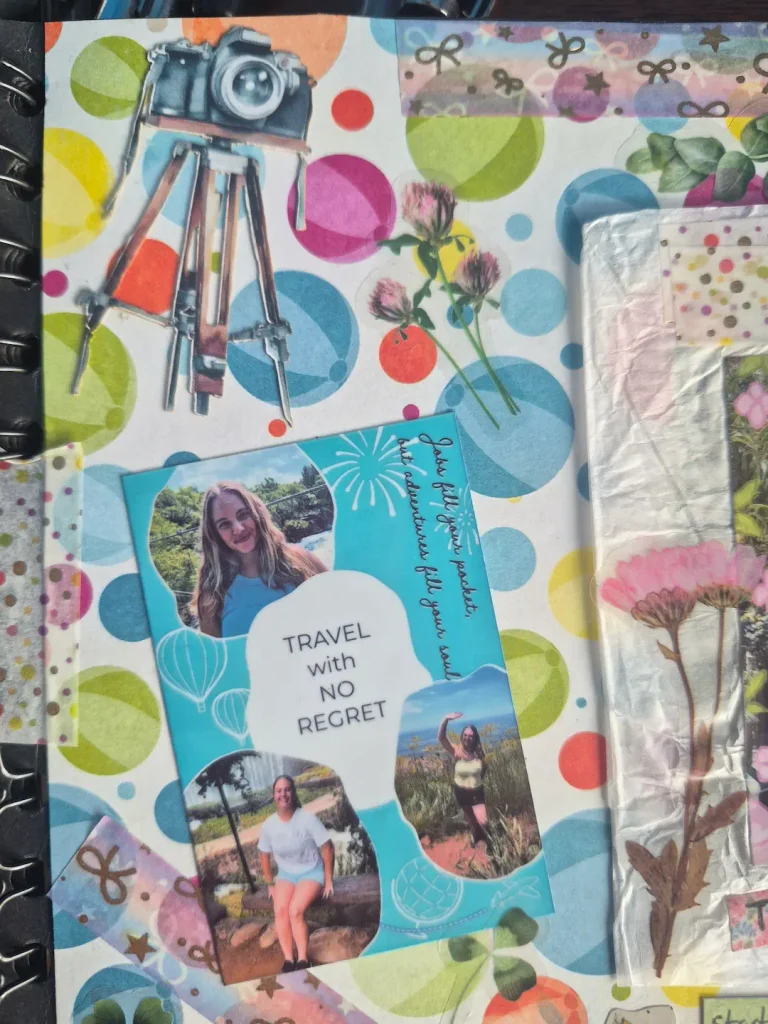
You may be wondering how I got my images to be so small and how I managed to print out three in one by the cute one on the right with the quote, “Travel with no regrets.” That’s because I bought a specific mini printer for these types of things back in 2024. It’s the Canon Ivy 2 Mini printer which I ordered from Amazon, but bear in mind you will have to order special printing (zinc) paper with it which comes ten in a pack. It is one of the best and my absolute favourite scrapbooking tool. Not even a tool, a total machine. You don’t have to get this to be a pro-scrapbooker, as I said, you can just print out normally and cut them out how you wish.
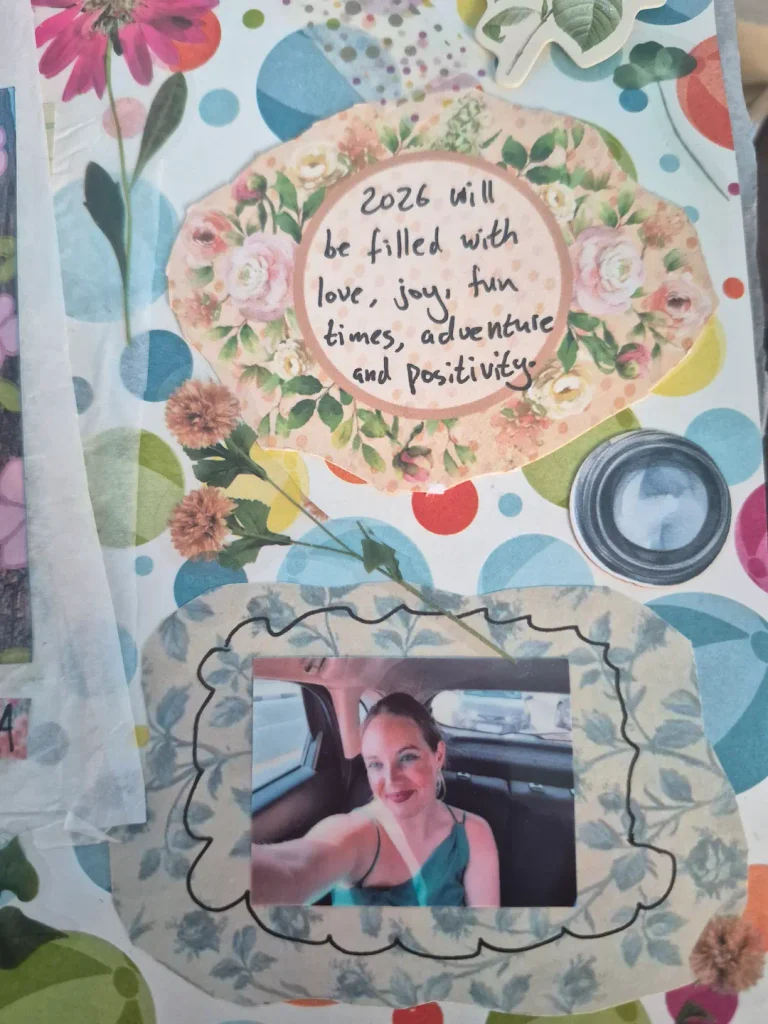
At the bottom right corner, I used extra pattern paper which I cut in a bubble shape to emphasise another cute photo of myself. I used these pictures of myself for the first page because I am the star of my own life and it is my scrapbook, no one else’s.
Above that I cut out something else and wrote something positive for myself, a positive intention that the year would go well and be filled with all the joys and positives.
I did add random stickers of flowers and a cute butterfly to add some whimsy and magic to the page. If sunshine and flowers is not your vibe, feel free to try and play with darker tones, darker papers and grungy stickers and just make it your own!
I did use another of my favourite supplies, little washi tapes which I bought from PNA. It just adds vibrancy and edges to the page of my scrapbook. I love the placements of them, the different colours blending in together and it just ties the whole page together which I really love.
At the top left corner I added in a sticker of a camera, because I LOVE taking photographs and having photoshoots done. It speaks volumes about my personality and breaks through all the flowers and the cutesy washi tape.
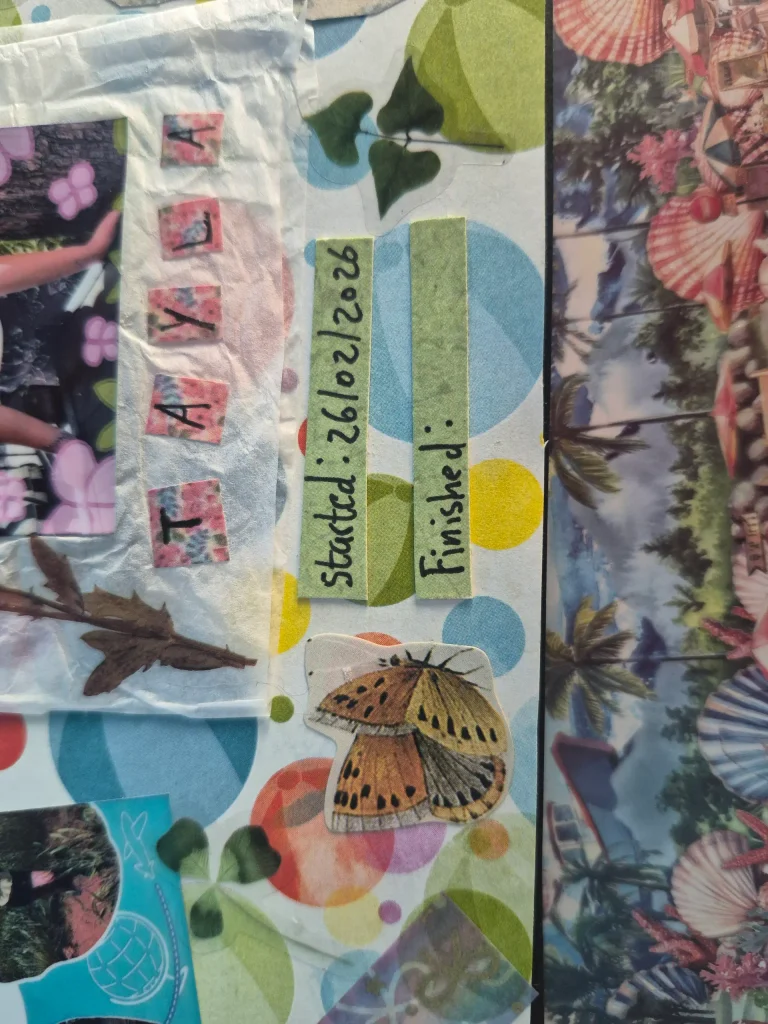
I personally have to have the date on every single thing that happens, which is why I made a “Started” and a “Finished.” I have to know what day I did something or created something and adding that below my name and beautiful photo seemed the best option for me.
I did add that butterfly sticker next to the dates because it just seemed fitting to have a butterfly help me begin my scrapbooking journey. It draws the eyes to that specific part of the page, I find that to be the case.
So that is one example of scrapbooking for beginners, using my very first official scrapbooking page which I am very proud to share with you. I just want you to remember that it truly is all about you enjoying the process and having fun with it. It doesn’t have to be complicated, designed to impress or even pretty. It can be whatever you want it to be. I am one of millions of people who are sharing their scrapbooking pages, find your niche in scrapbooking and play around and have fun!
I do also find it to be an easy hobby to do with friends and family on a peaceful Sunday afternoon. You can share stickers, papers, tapes, punches and whatever other supplies you have and chat and have wine and get lost in the moment in creating something real and tangible from your memories.
I hope you enjoyed this article as much as I actually enjoyed writing it and I will be sure to share other examples of my scrapbooking pages in the future, enjoy!